


shepherdzayn
This blog include tips, and ideas related to pc security, malwares, and viruses. Fix all antivirus issues.

Fix McAfee WebAdvisor Stopped Working After an Update the Browser
McAfee antivirus setup, McAfee Corporation earlier known as McAfee Associates is an American security software company based in Santa Clara, California. It is an alliance between Intel along with TPG…
Common Issues with McAfee not Working on Windows 11
McAfee is an incredibly famous antivirus suite giving strong insurance against infections and other malware dangers. Nonetheless, while utilizing it a ton of Windows 11 clients gripe about causing issues….

How to Create an Apple ID / iCloud eMail Account on MAC and PC
There are various choices accessible with regards to setting up another email account, however assuming that you’re hoping to set up an Apple iCloud email, you’ve come to the ideal…
How to Disable Bitdefender Pop Ups or Notifications
If you’ve been using Bitdefender antivirus software on your PC I’ll explain how you can stop or deactivate the irritating alerts. I’ve used Bitdefender Total Security since many years, and…
How do I Install and Activate Eset Antivirus for Windows as well as MAC
[b]Install and Activate Eset Antivirus for Windows and MAC [/b] [IMG undefined][IMG undefined] Installing Eset Antivirus on your system is simple. It will safeguard your system from all dangers. If…
Fixed [806-542-0999] Windows Defender Error 577 in Windows 10
Windows Defender error 577 may occur when you run Windows Defender. Windows Defender error 577 may occur when you run Windows Defender. How can it be fixed? This article will…
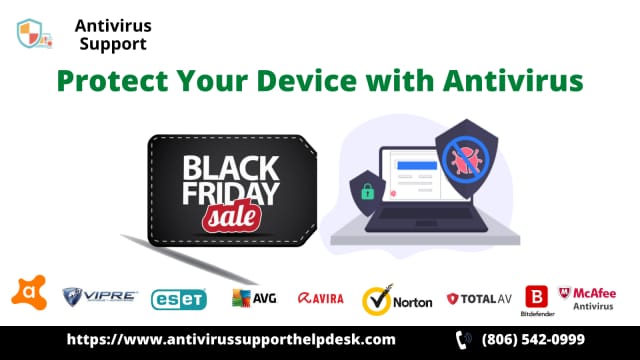
Best Offers and Discounts on Antivirus Black Friday Sale in 2021
Black Friday is the start of Christmas celebrations throughout the US. Everyone who is a shopper, as well as technology and gadget lovers eagerly wait to see this [b]antivirus Black…

How to Fix Norton Internet Security Run Time Error Code 8504 101
[b]Solved Norton Internet Security Run Time Error Code 8504 101[/b] Norton has been one of the top popular antivirus programs available on the market. They’ve been able to meet every…
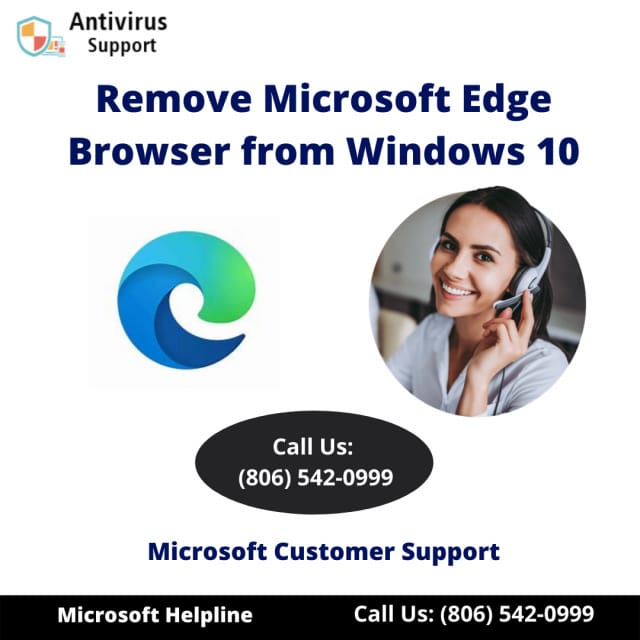
How to Uninstall Microsoft Edge from Windows 10
Microsoft Edge is the default web browser of Windows. Despite the fact that it has its a fair share of fans worldwide, numerous PC clients could do without it. All…

Cancel Auto-Renewal McAfee Subscription and Get Refund
If you no longer need or want your McAfee subscription you may wish to cancel your McAfee subscription. Options include canceling your account and erasing all of your information. You…